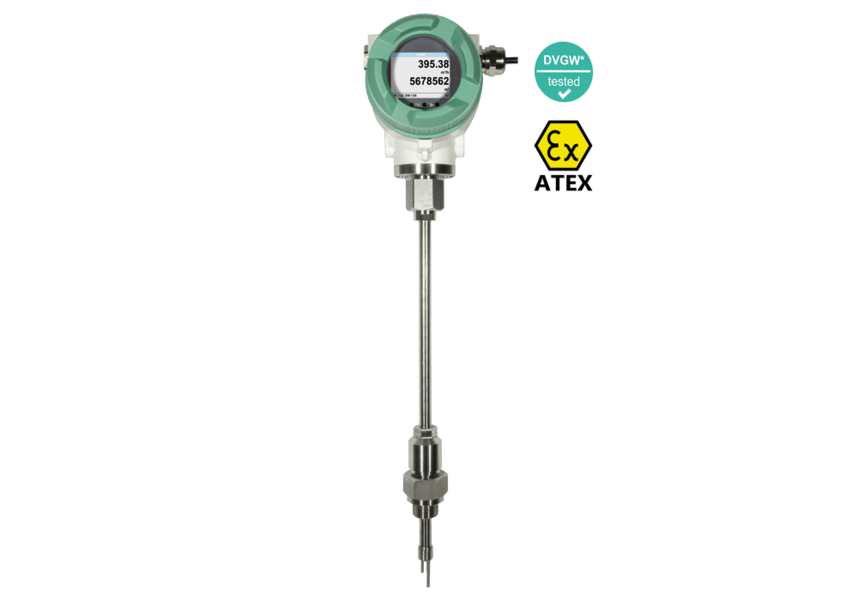
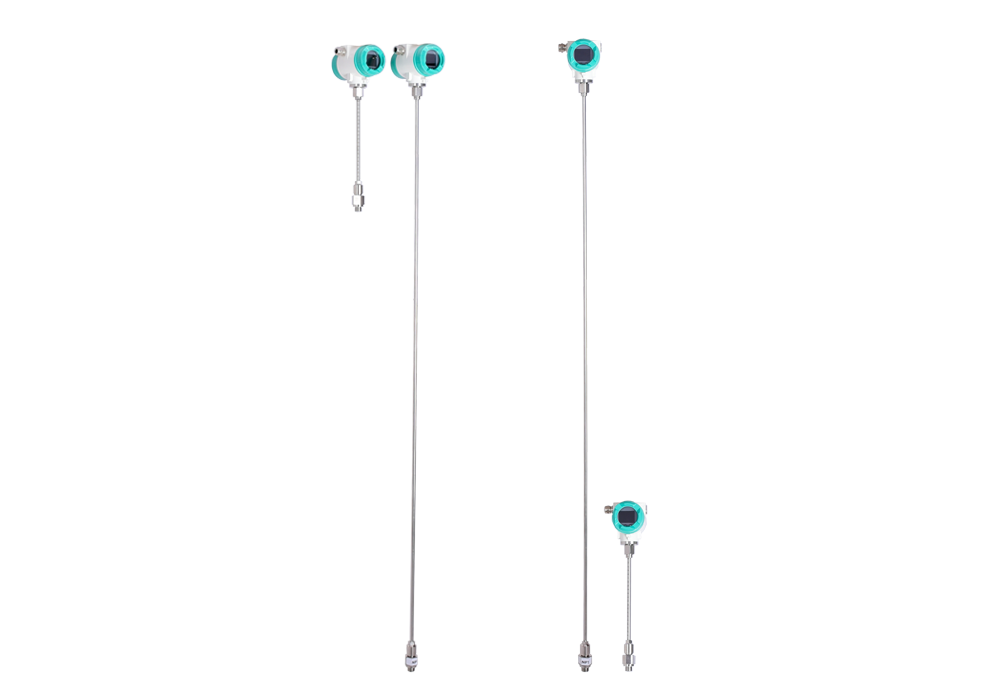
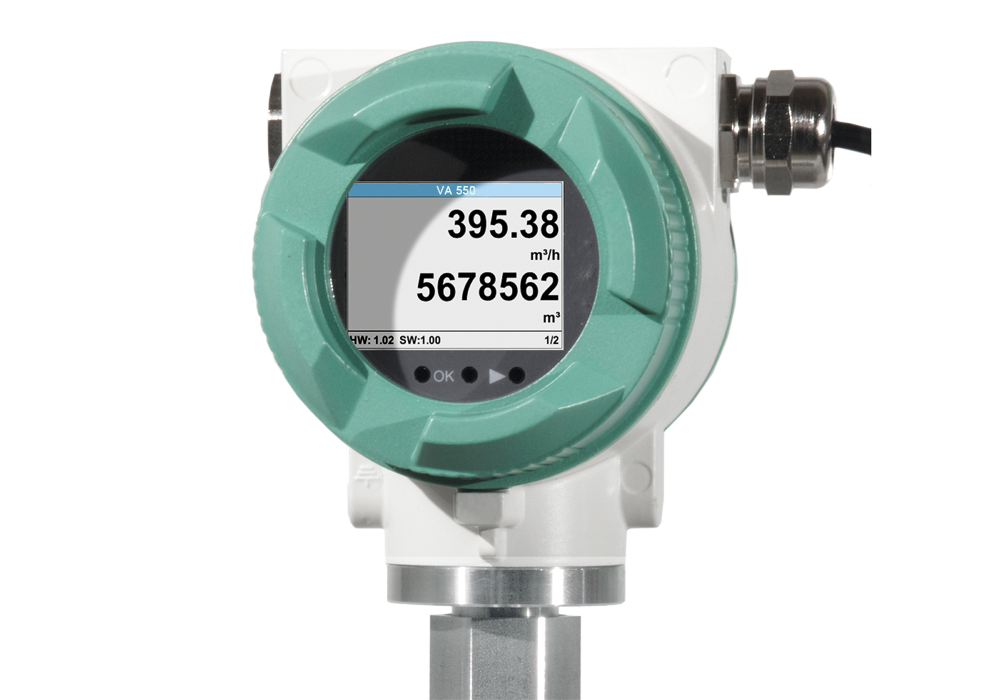
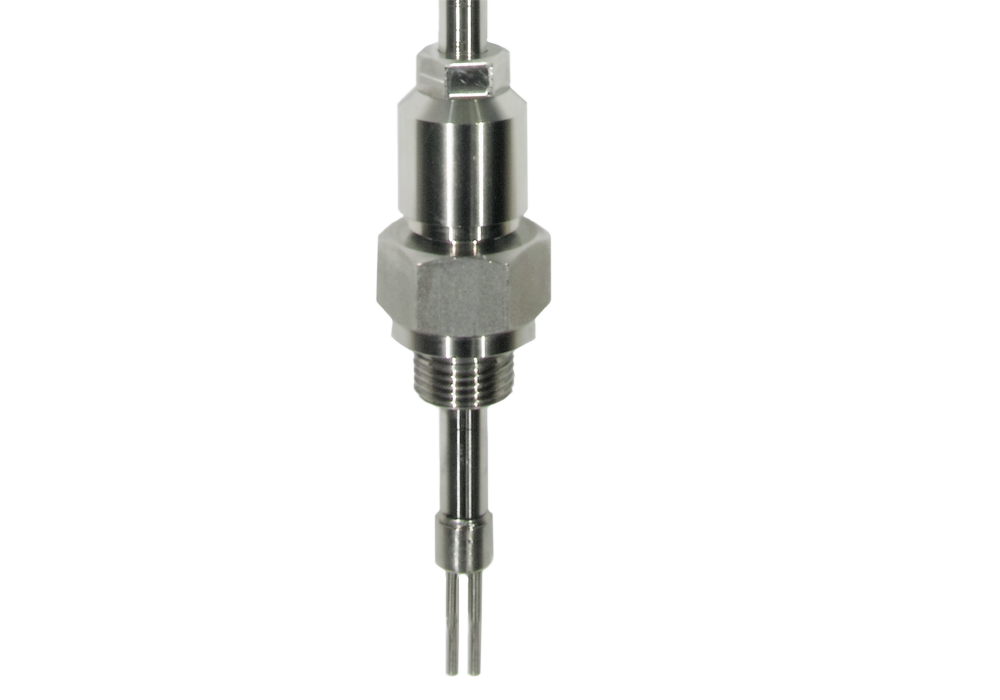
TECHNICAL DATA VA 550
| Measuring range VA 550: | up to 50 Nm/s, low-speed version* up to 92.7 Nm/s, standard version* up to 185 Nm/s, max. version* up to 224 Nm/s, high-speed version* * Measuring range Nm³/h for different pipe diameters and gases, see table measuring ranges flow |
| Accuracy: Accuracy class (o. M. V. = of measured value) (o. F. S. = of full scale) |
± 1.5 % of m.v. ± 0.3 % of f.s. on request: ± 1.0 % of m.v. ± 0.3 % of f.s. |
| Accuracy indications: | relative to ambient temperature 22 °C ± 2 °C, system pressure 6 bar |
| Repeatability: | 0.25 % of m.v. in case of correct mounting (mounting aid, position, inlet section) |
| Measuring principle: | Thermal mass flow sensor |
| Response time: | t 90 < 3 s |
| Operating temperature range sensor tube/display unit: | -40…180 °C standard version, sensor tube -20…70 °C display unit -20…120 °C for ATEX version |
| Adjustment possibilities via display, external hand-held device PI 500, PC Service Software, remote diagnosis: |
Nm³/h, Nm³/min, Nl/min, l/s, ft/min, cfm, kg/h, kg/min, inner diameter, reference conditions ° C/° F, mbar/hPa, zero point correction, leak flow volume suppression, scaling analogue output 4…20 mA, pulse/alarm, error codes etc. |
| Outputs: | Standard: 1 x 4…20 mA analogue output (electrically not isolated), pulse output, RS 485 (Modbus-RTU) Optional: 2 x 4…20 mA active, Modbus TCP, HART, Profibus DP, Profinet, M-Bus |
| Burden: | < 500 ohm |
| Additional average value calculation: | for all parameters freely adjustable from 1 minute up to 1 day, e. g. 1/2 hours average value, average day value |
| Protection class: | IP 67 |
| Material: | Die-cast aluminum housing, sensor tube stainless steel 1.4571 |
| Screw-in thread: | G 1/2″ ISO 228, NPT 1/2″, R 1/2″, PT 1/2″ |
| Operating pressure VA 550: | 50 bar, in special version 100 bar (with DVGW approval max. 16 bar) |
| Power supply: | 18…36 VDC, 5 W |
| Approval: | ATEX II 2G Ex db IIC T4 Gb, ATEX II 2D Ex tb IIC T90 °C, Db, DVGW |

